

Hello Fellow Sewists! I am so excited for today's post. I have been wanting to flex my dress designing muscle lately. I usually have a dress design in mind and I look for a pattern that most resembles what I envision. But buying patterns all the time and having to constantly adjust the fit on them is time consuming. I am also finding that it isn't always necessary. Especially if you have taken the time to work out some pattern slopers.
Which leads me to today's post. I am looking to do a variation of the purple dress I wore for this past "Sunday's Best" post. However, I want to add a front yoke in a contrasting fabric to the bodice. After doing a little research and using some common sense I came up with a pretty straight forward way to adjust my pattern.
So here we go....
Supplies:
Butcher Paper
Measuring Tape
L-Ruler or yard stick
A bodice pattern that has already been adjusted to fit your body
Fashion fabric of choice and a contrasting fabric ( I used stretch knit for both) You can also use this technique on a woven fabric.
1) Measure the front length from the highest point of your shoulder which is right at the based of your neck straight down the side front of your body to right above your bust line. Its usually right where the front crease of your armpit is. For me this is 8"

2) To preserve your existing pattern trace your bodice on to a clean piece of paper.
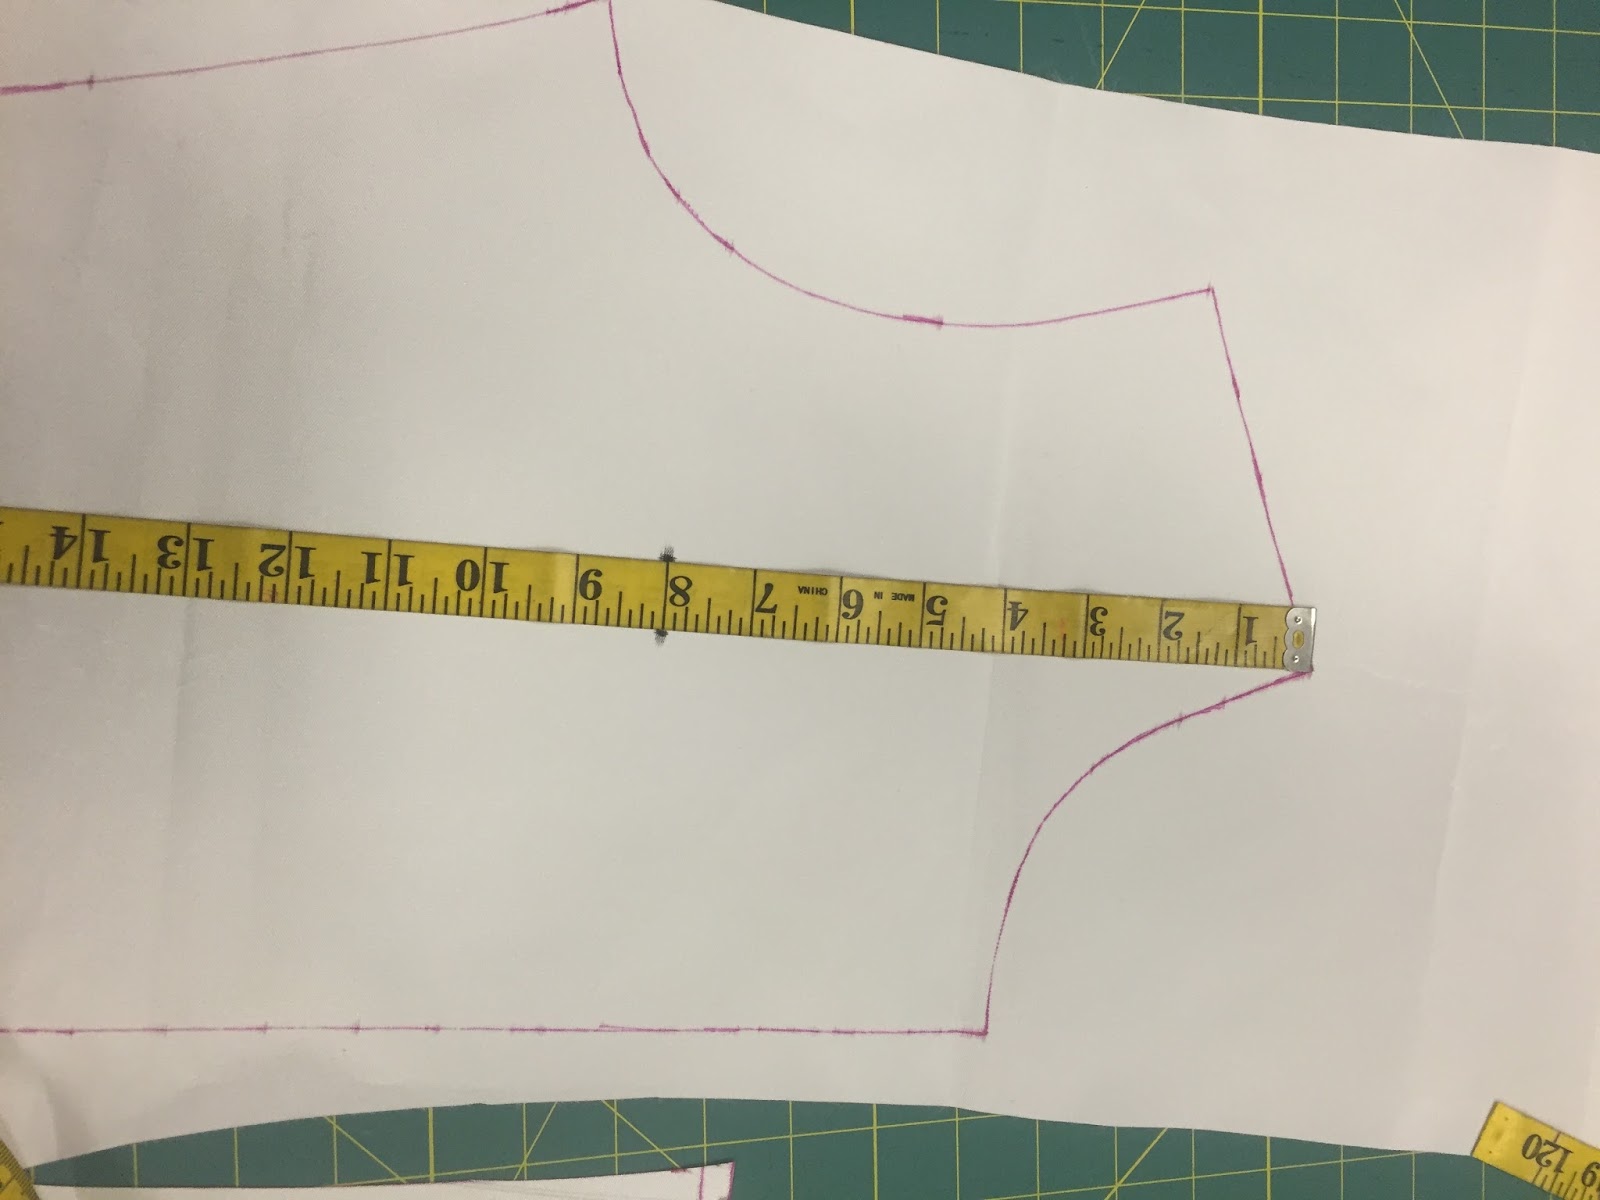
and mark your top bust point. For me this was 8".

4) Using your high bust point as your starting point, take a straight edge and draw a horizontal line across the top of the high bust area of your bodice. It should intersect with your 8" marking point.

5) Cut your pattern including across the line you drew to separate your lower and upper bodice piece.

Seam Allowances
6) Now here is the tricky part. in order to keep the measurements of your bodice and armhole you have to add a seam allowance to the bottom of the yoke area and the top of the lower bodice piece that you just created.
7) To do this mark your desired seam allowance. Because I am working with knit fabric and plan on using my serger to sew this dress I only added a 3/8 inch seam allowance. You can use 5/8 of an inch if you want.
8) Place your lower bodice piece on yet another clean piece of paper ( you can do the draft of this on newsprint first and then if you want to preserve this pattern retrace it to nicer paper). Mark up from the upper edge corners 3/8 inch. Connect your points with a straight line using your measuring stick and carefully connect your new line with existing pattern.


9) Trace the rest of the pattern with your new seam allowance added.

10) Do the same to the bottom of your yoke piece.
11) Cut your new pattern pieces.
12) Cut your fabric using the lower bodice pattern for your main fashion fabric and cut the yoke with the contrasting fabric. Sew the two pieces together. Your finished bodice should look like this.

Voila! That's it. A brand new bodice!
Enjoy! Be Blessed and as always comments, questions and prayers are welcome!
No comments:
Post a Comment
Note: Only a member of this blog may post a comment.