This week's post was inspired by one of my students who is currently using her lessons to sew herself a dress for her 15th birthday party. One of the things that I love about teaching is that as an instructor I am constantly learning in the process of teaching. Today as we were working on attaching the lining to her bodice we began to have a discussion about under stitching the lining to the neckline. And the lightbulb for this post went off.
"It is the small details when you are finishing your garment like understitching that are necessary for quality construction and a professional finish."
How To Understitch
For this tutorial I used 2 different cotton fabric swatches in order to demonstrate the technique but as I mentioned in the definition above, understitching is best utilized around the neckline of a top, bodice or jacket. There are other places where it can be useful but these are the most common.
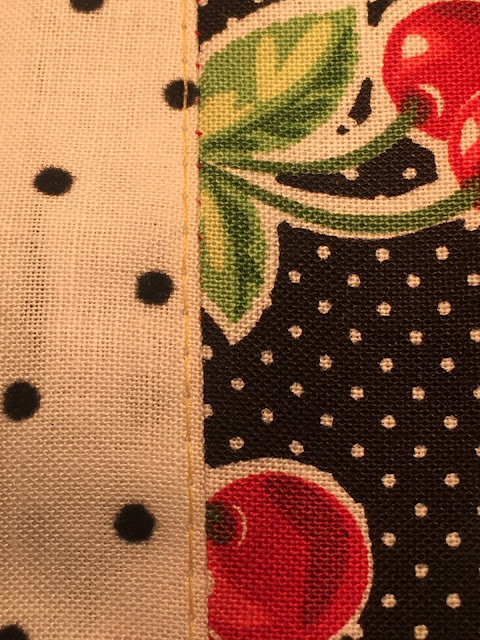
1) You underline right after you attach the lining or facing to your garment. For this tutorial I utilized a white cotton with black polk a dots for the lining and a black fabric with white dots and cherries to represent the fashion fabric. So as you can see I sewed my two fabric swatches together.
2) Take your project to the ironing board and pull your lining away from the fashion fabric so that the wrong side is faced down on your ironing board. Press out your seam with the seam allowance pressed over to lay to the lining side of your fabric.
***Note: It is really important that you give your garment a good press prior to understitching. If you don't you may have some slipping and uneven stitches. A nice flat seamline will make it easier for your machine foot to glide along the seamline.
3) Once your done pressing. Take it back to your machine and line up your machine needle about 1/8 inch from your seamline. I used a straight stitch foot and just lined up the seamline with the right side of the pressor foot.
4) After you under stitch you take your garment back to the ironing board and fold the outside of your garment over the lining with the wrong sides facing each other. Press your new seam.
Here's what it should look like once your done. The stitches are close to the seamline but are only visible from the inside of the garment.
And thats it! Be Bless! As always Questions, Comments and Prayers are always welcome!


No comments:
Post a Comment
Note: Only a member of this blog may post a comment.